Lifting Dahlias for Winter: A Step-by-Step Guide
Dahlias are one of the most rewarding flowers to grow, producing show-stopping blooms from midsummer until the first frosts. However, because they’re tender perennials, their tubers often can’t survive the freezing winter temperatures in most regions. Fortunately, lifting and storing them is a straightforward process that will ensure healthy plants and beautiful blooms year after year. With a little bit of effort, you can easily enjoy these gorgeous flowers, even if you’re a beginner!
Why Lift Dahlias
If you leave dahlias in the ground over winter where it gets really cold, chances are the tubers won’t make it. Lifting them is a simple way to keep your favourite varieties safe until spring. It also gives you the chance to split up the tubers and get more plants that will look just like the originals. It’s a great way to fill your garden with the dahlias you love. You can try growing from seed, but the results are a bit of a lucky dip – you never quite know what you’ll get!
When to Lift Dahlias
The best time to lift dahlias is shortly after the first frost, ideally within a few days, when the foliage turns black and begins to die back. This change in the foliage signals that the plant’s energy has been transferred back to the tubers. Avoid digging too early, as the tubers may not have fully matured. Lifting too late may expose them to potential rot or damage from a hard freeze.
What You’ll Need
- A garden fork or spade
- Secateurs or pruning shears
- Labels (for naming varieties)
- Newspaper or cardboard for drying
- Storage material (peat-free compost, sawdust, or vermiculite)
Step 1: Cut Back the Foliage
Using secateurs, cut the stems to a height of about 10–15 cm (4–6 inches) above the ground. This makes the plants easier to handle and reduces the risk of damaging the tubers as you dig.
Step 2: Lift the Tubers Carefully
Insert your garden fork well away from the main stem and gently lift the clump, working around the plant to loosen the soil. Avoid piercing the tubers – they’re easily damaged and can rot during storage.
Step 3: Clean and Inspect
Shake off excess soil and rinse the tubers lightly with water to remove remaining dirt. Check for any damaged or rotten parts and remove them. Healthy tubers are firm and plump.
Step 4: Dry (Cure) the Tubers
Lay the cleaned tubers upside down (stem end down) on newspaper or cardboard in a cool, dry, and frost-free place for about a week. This allows any remaining moisture to evaporate, preventing rot in storage. You’ll know the drying process is complete when the skin feels papery and there is no visible moisture. Properly dried tubers will give slightly when pressed, but should not feel wet or overly soft.
Step 5: Label and Store
Once dry, label each tuber if you’re storing multiple varieties. Place them in boxes or crates filled with dry compost, sawdust, or vermiculite. Store in a dark, frost-free area at a temperature of 5–10°C (41–50°F).
You can store them anywhere that’s indoors – garage, shed, or other outbuildings as long as it’s frost-free. Once packed, check your tubers at least once a month. If they look dry and the skin is wrinkling, you need to mist the packing material before you cover them over again. You also need to make sure that if some mould or rot has formed, you get rid of it as soon as possible; rotting tubers will be darker and softer than they should be.
If you find any fungal issues when you inspect, remove all the damaged tubers or affected portions. I also recommnend that you change the packing material so you don’t leave any microbes in there that will affect the rest of your tubers.
Step 6: Replant in Spring
When the danger of frost has passed, bring your tubers out of storage and pot them up indoors to encourage early growth, or plant them directly outdoors in warm soil in late spring.
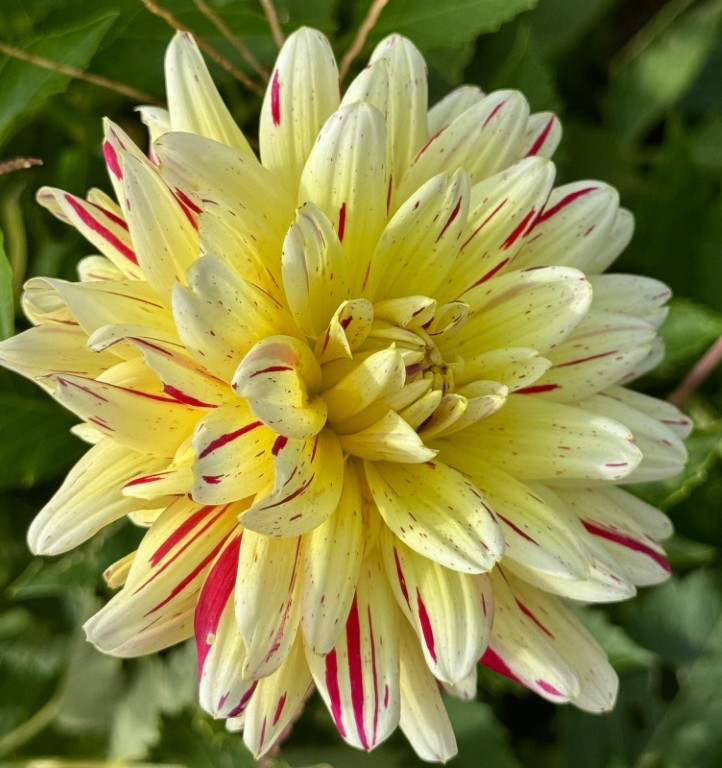
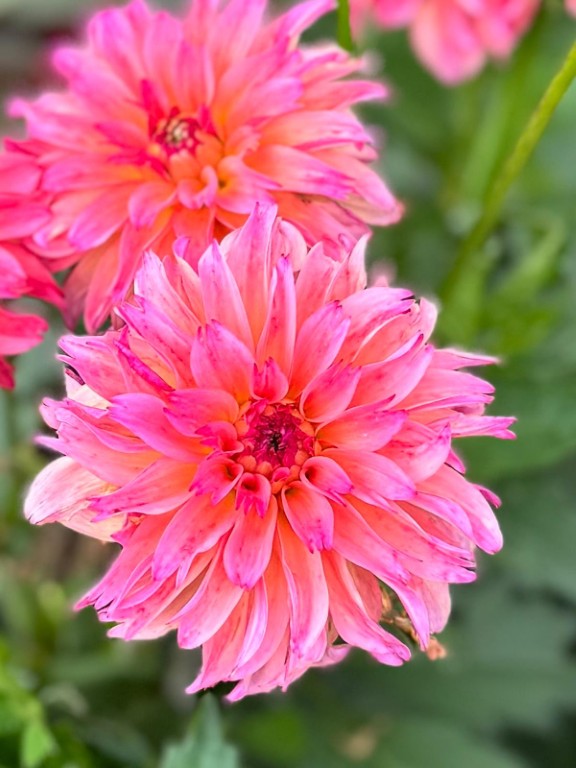
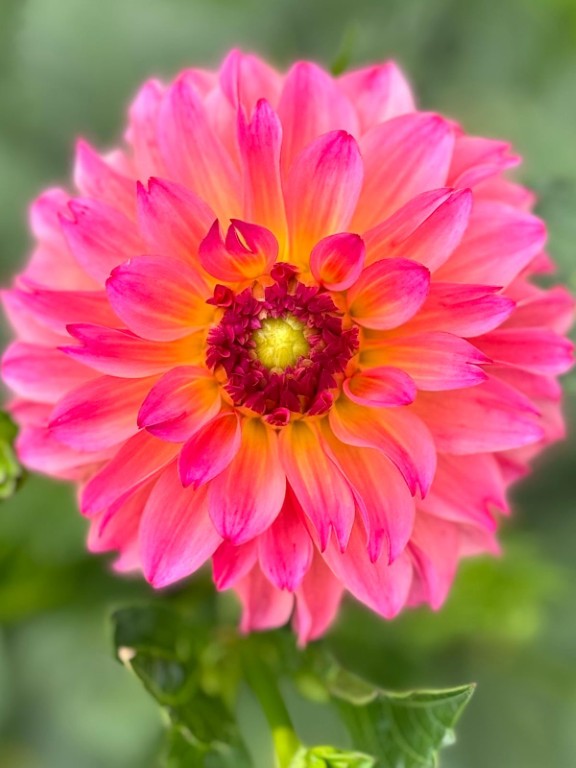
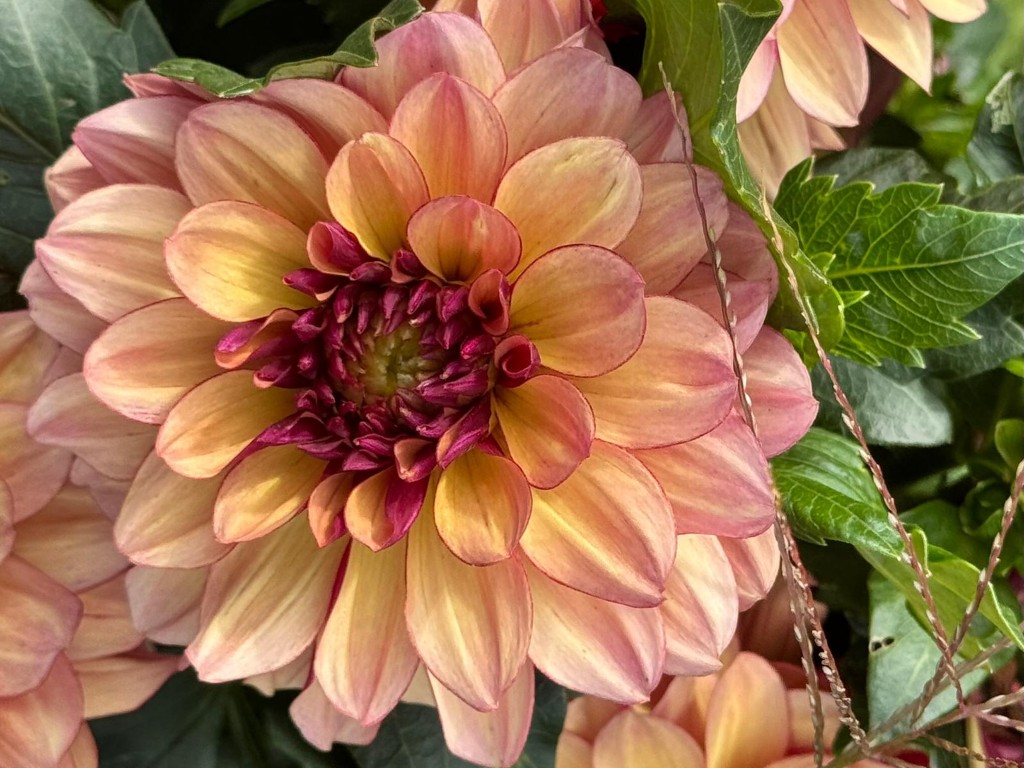
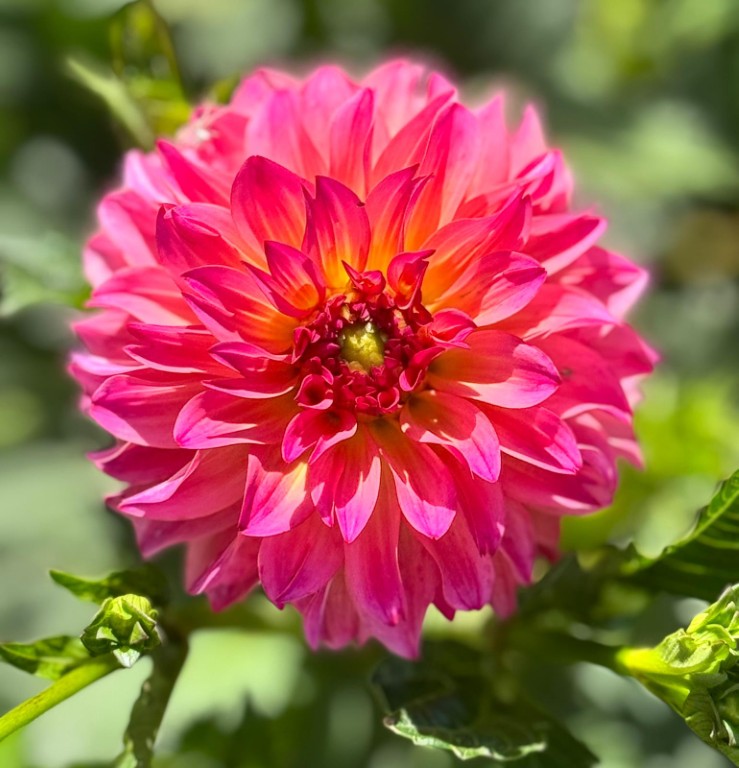
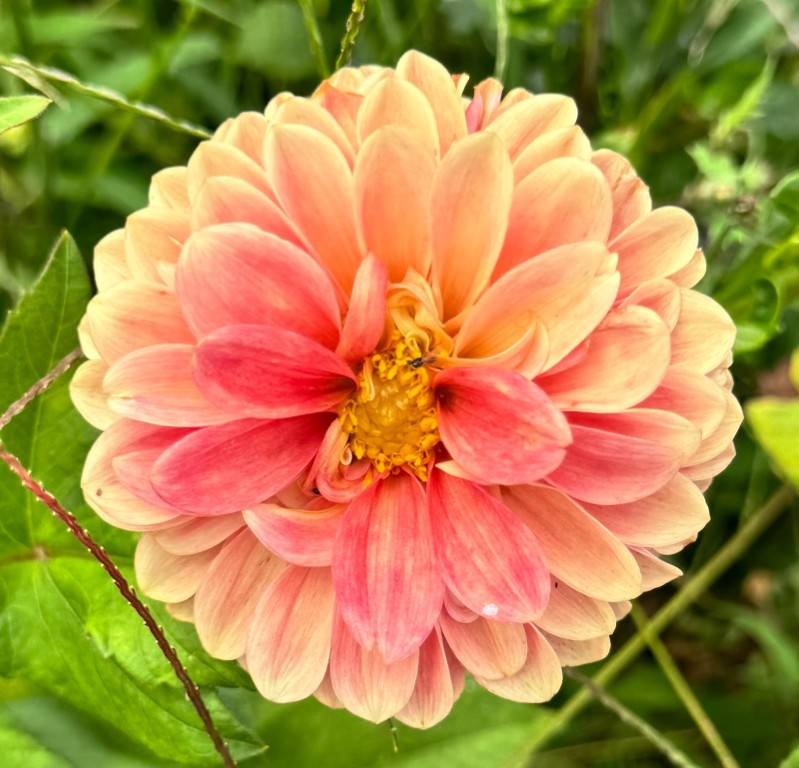
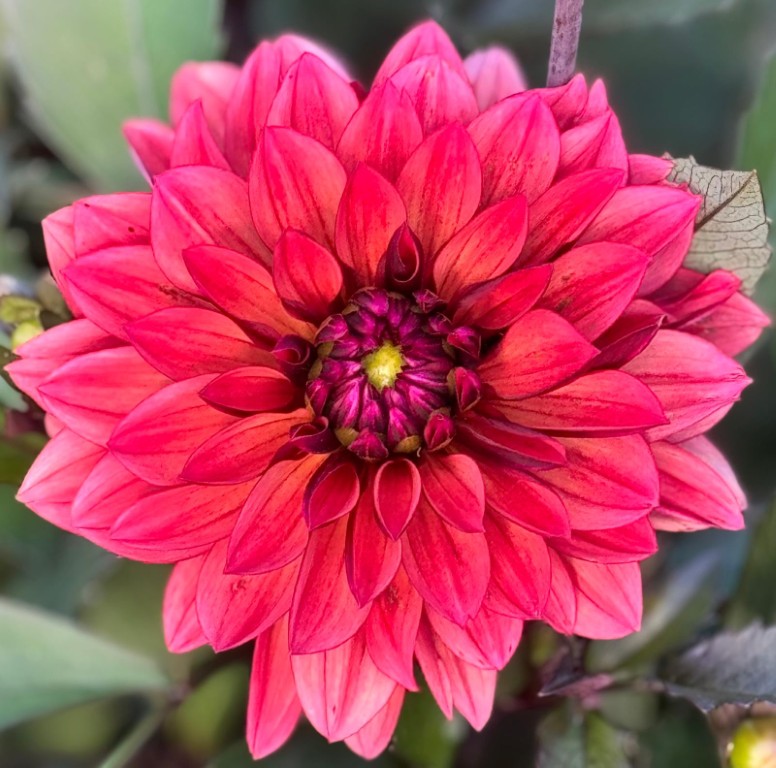
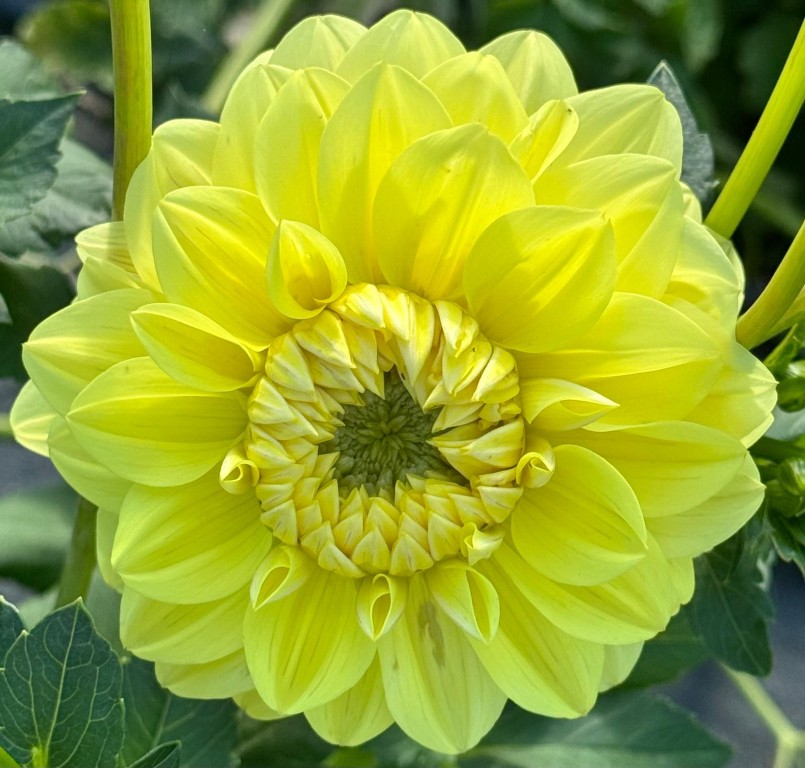
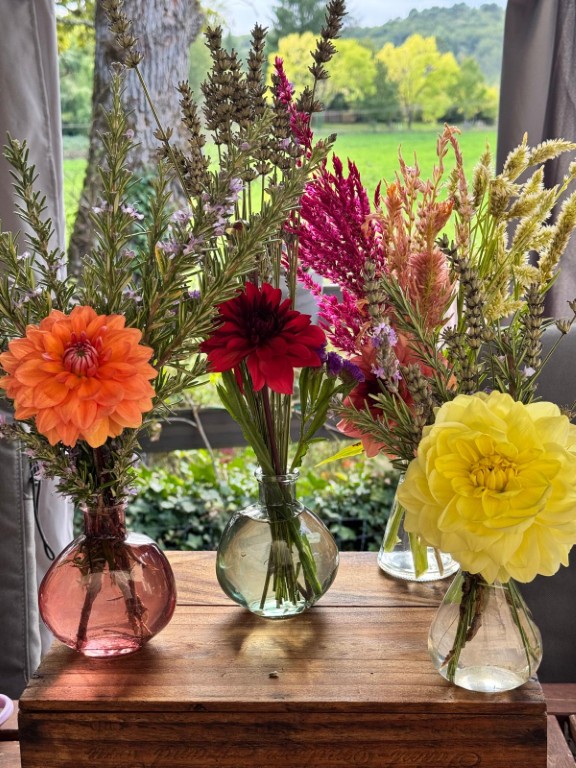
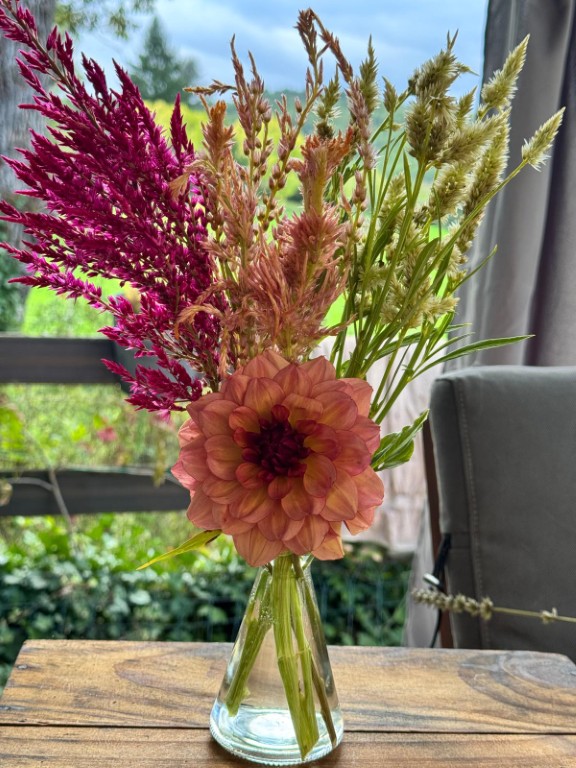
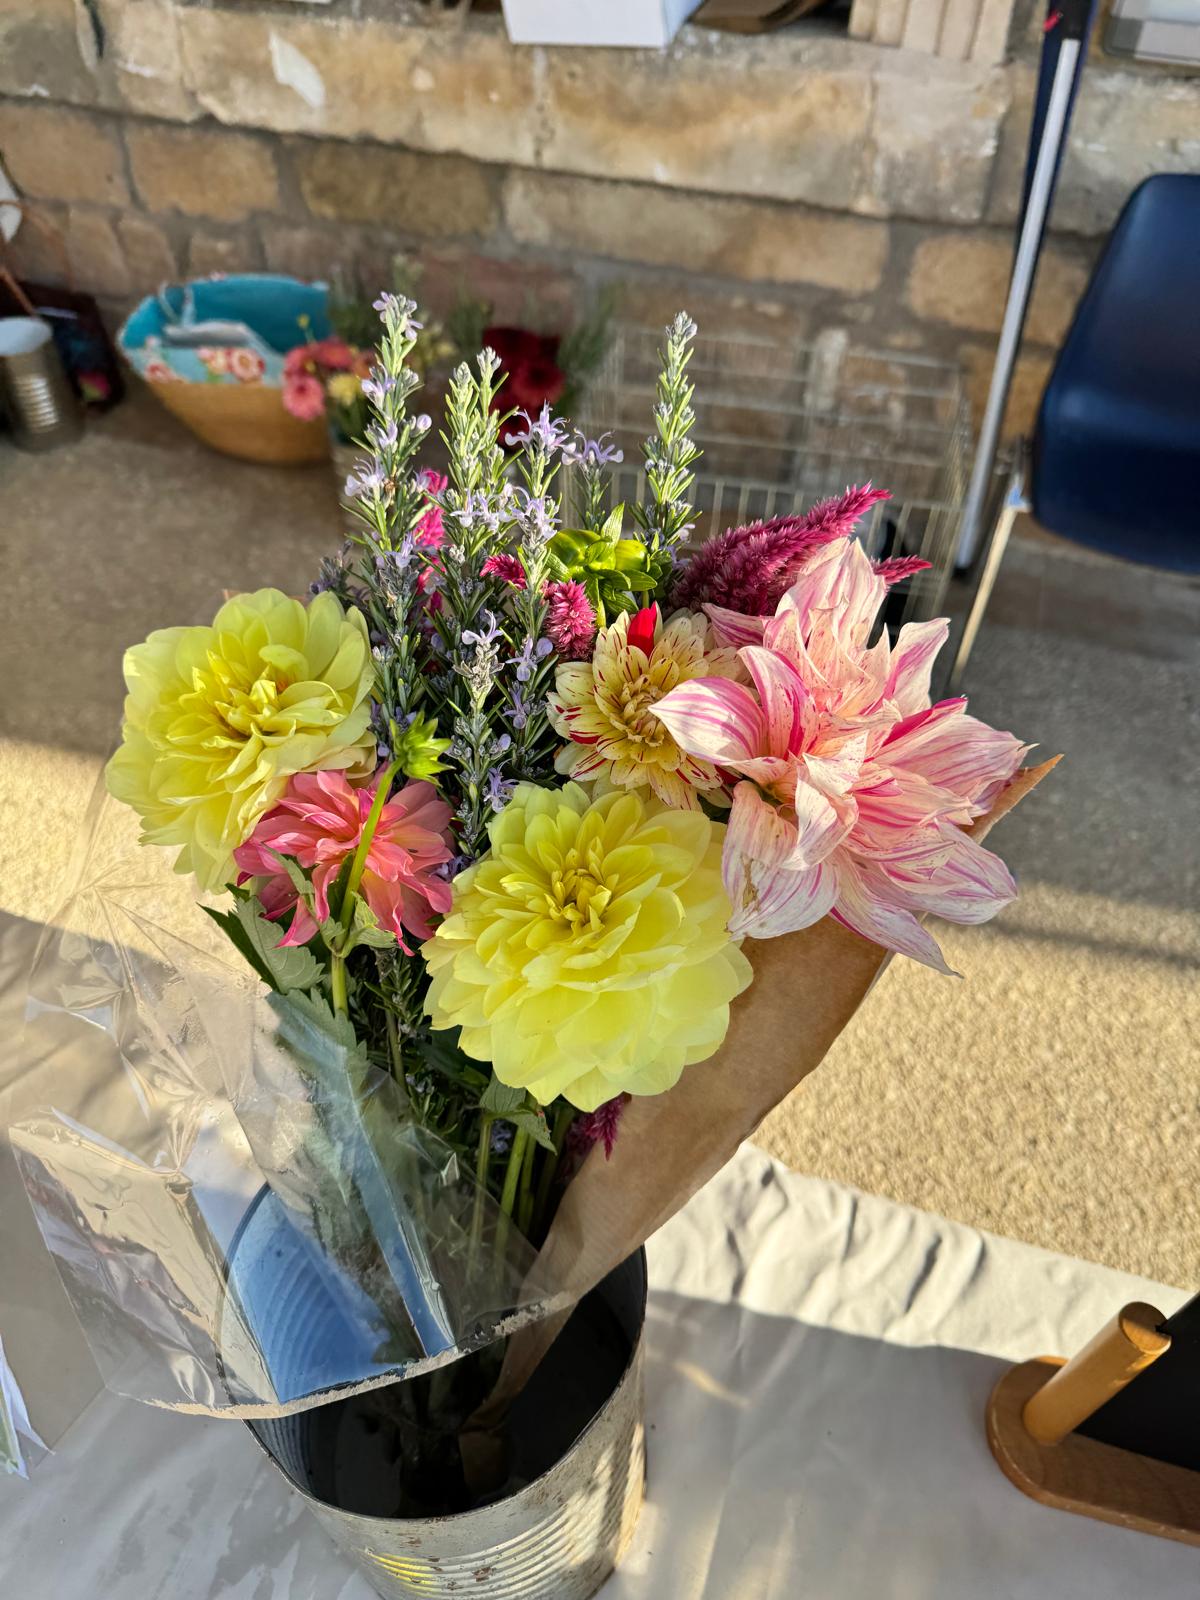
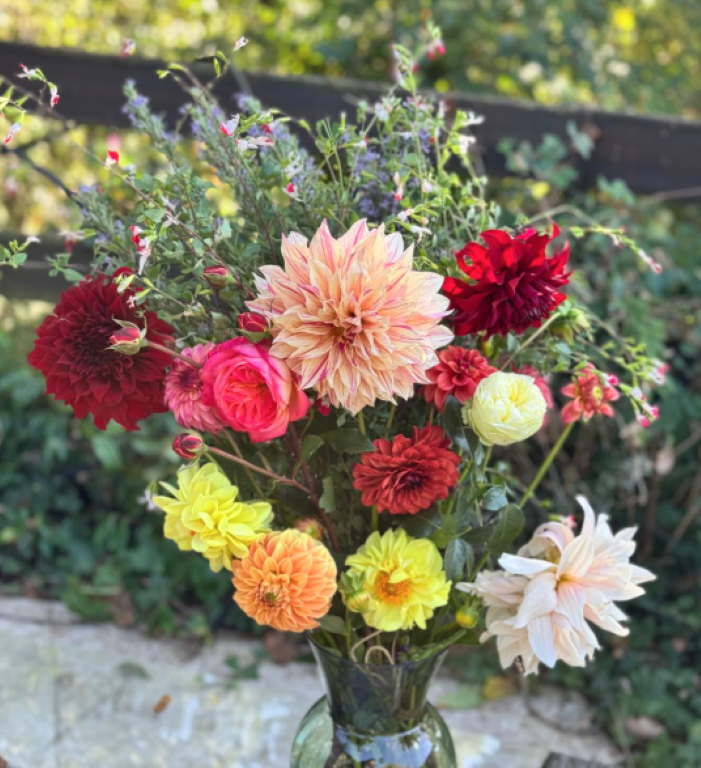
Just a few of the Dahlia varieties in our garden.
Final Tips
- Don’t let the tubers dry out completely over winter – they should stay firm, not shrivelled.
- Keep them out of direct sunlight while drying and storing.
- Label clearly – the tubers of different Dahlia varieties can look very similar once they are lifted from the ground.
By taking a little time to lift and store your dahlias each autumn, you’ll be rewarded with stronger, healthier plants and even more spectacular blooms next summer.
Happy gardening!