
Creating a Wormery
Wiggly Wonders: Our Guide to Building a Wormery!
Worms are tireless workers that break down organic matter to produce beautiful worm tea and rich, fertile compost called vermicompost. Creating a wormery can be a fun and eco-friendly activity. It’s also a great hands-on way to learn more about composting, ecosystems, and reducing food waste.
What You Will Need
- A dustbin
- Thick plastic sheet big enough to cover the bottom of the bin
- A drill (for making air holes)
- A plastic water tap with a washer
- A hole cutter for the size of the tap that goes in the side of the bin
- A sturdy brick or other object to stand the bin on so you can collect the ‘worm tea’.
- Bedding material (shredded newspaper, cardboard, coco coir)
- Kitchen scraps (fruit and vegetable peelings, coffee grounds, etc.)
- Moisture (a spray bottle or just a bit of water)
- Some live garden worms
- Container to collect your worm tea
Making your wormery
1. Prepare the container
- Cut the plastic sheet so that it fits just above the base of the bin. You need a gap of at least 10cm between the plastic and the bottom of the bin. This space is where the worm tea will drain through.
- Drill drainage holes in the plastic. If there is no ridge in your bin, add a couple of bricks so that the plastic is off the bottom and solidly in place.
- Near the bottom of the bin (below the level of the plastic sheet), use the hole cutter to make a hole in the side for the tap.
- Install the tap and washer, then test it to make sure it doesn’t leak.
2. Make the bedding
- Moisten the shredded paper or cardboard until it feels like a squeezed-out flannel.
- Fill the bottom third of the bin (on top of the plastic sheet) with this bedding.
3. Add the worms
- Place your worms on top of the bedding. They’ll naturally dig down to avoid the light.
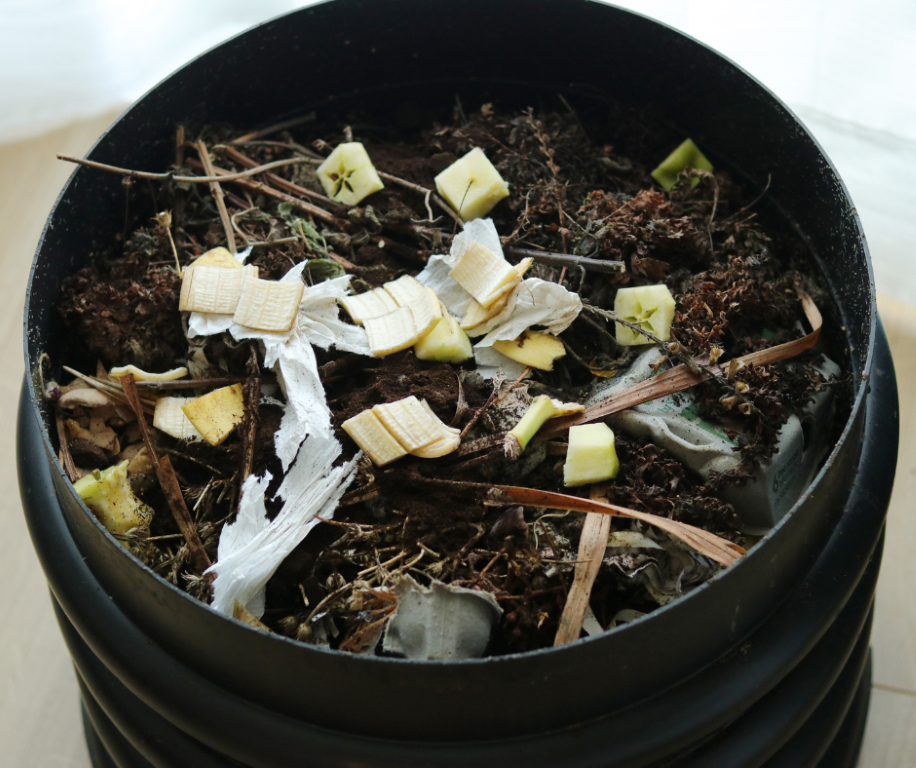
4. Feed the worms
- Add some kitchen scraps, preferably cut into small pieces. (No meat, dairy, citrus, onions, or oily food). I’ve included a Worm Menu at the bottom of the page that can be downloaded and printed out as a reminder.
5. Cover and maintain
- Keep the lid on, but make sure there is airflow.
- Check moisture regularly; if it’s too dry, mist it. If the area is too wet, add more bedding to absorb the excess moisture.
Aftercare and Harvesting
- Feed once or twice a week in small amounts.
- To use worm tea, drain it from your tap and mix it with water before using it on your plants. Leave the draining tap open with something underneath to catch the liquid so you don’t accidentally drown your worms.
- In 2–3 months, you’ll see rich, dark compost in the bin. Gently push everything to one side, add new bedding and food to the other, and let the worms migrate before harvesting the compost.
Dos and Don’ts for Having a Wormery
Dos:
- Maintain moisture levels: Keep the bedding moist but not overly wet or soggy. Check regularly and mist if necessary.
- Add food gradually: Feed the worms small amounts of kitchen scraps once or twice a week to avoid overwhelming them.
- Monitor temperature: Keep the wormery in a cool, shaded area away from direct sunlight and extreme temperatures.
- Harvest compost regularly, every 2-3 months, to keep the bin healthy and provide your plants with a nutrient boost.
Don’ts
- Don’t overfeed: Avoid putting in large amounts of food at once; this can lead to foul odours and attract pests.
- Stick to vegetable peelings, avocado skins and non-citrus fruits. Banana skins are excellent because they contain lots of potassium.
- Don’t stress the worms by making sudden changes, such as drastically altering their food or bedding, as it can cause stress.
- Check regularly: Keep an eye on the bin for signs of distress, overhydration, or pests.
Happy composting!
By following these guidelines, you can ensure that your wormery remains healthy and productive. Please let me know how you get on, and feel free to ask any questions – and don’t forget to send me your wonderful wormery photos!
Your Worm menu. The following link opens a pdf file in a new window for you to view online or download.